The Challenge
For many guests, the garage is the first part of the Potawatomi experience. It’s also a big, repetitive concrete structure, so the signage has to do two jobs at once. It needs to announce the brand from a distance and guide drivers to the right entry without adding clutter.
 This project added a few complications:
Multiple elevations. The garage has four entry and exit points across its east, north, and west sides. The wall bands aren’t uniform, so our survey drawings show 3′-2″ bands on the north elevation and 5′-5″ on the west. One sign size could not simply be repeated everywhere.
Pre-cast concrete. The signs mount to existing concrete walls with structural supports inside them. Every anchor had to clear those supports, and power had to be routed through the wall.
A working property. The install happened around active guest traffic at a popular casino and hotel.
Our Approach
Survey before fabrication. We began with design and a wall survey, then revised the drawings as field measurements came in. A revision corrected the west wall band height, and another added a proposed power hole location. Catching those details on paper, not on a lift, is what our “Getting Signage Right” approach is about.
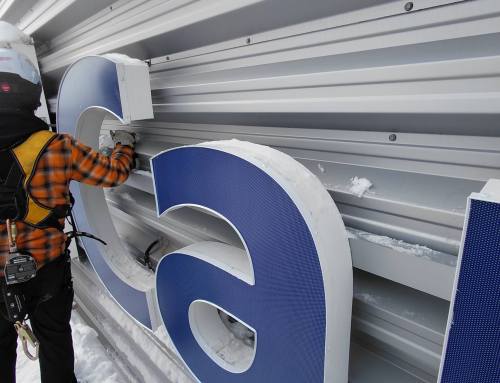
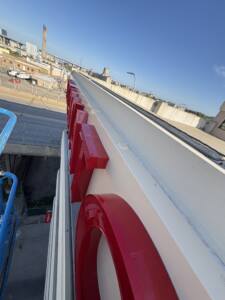
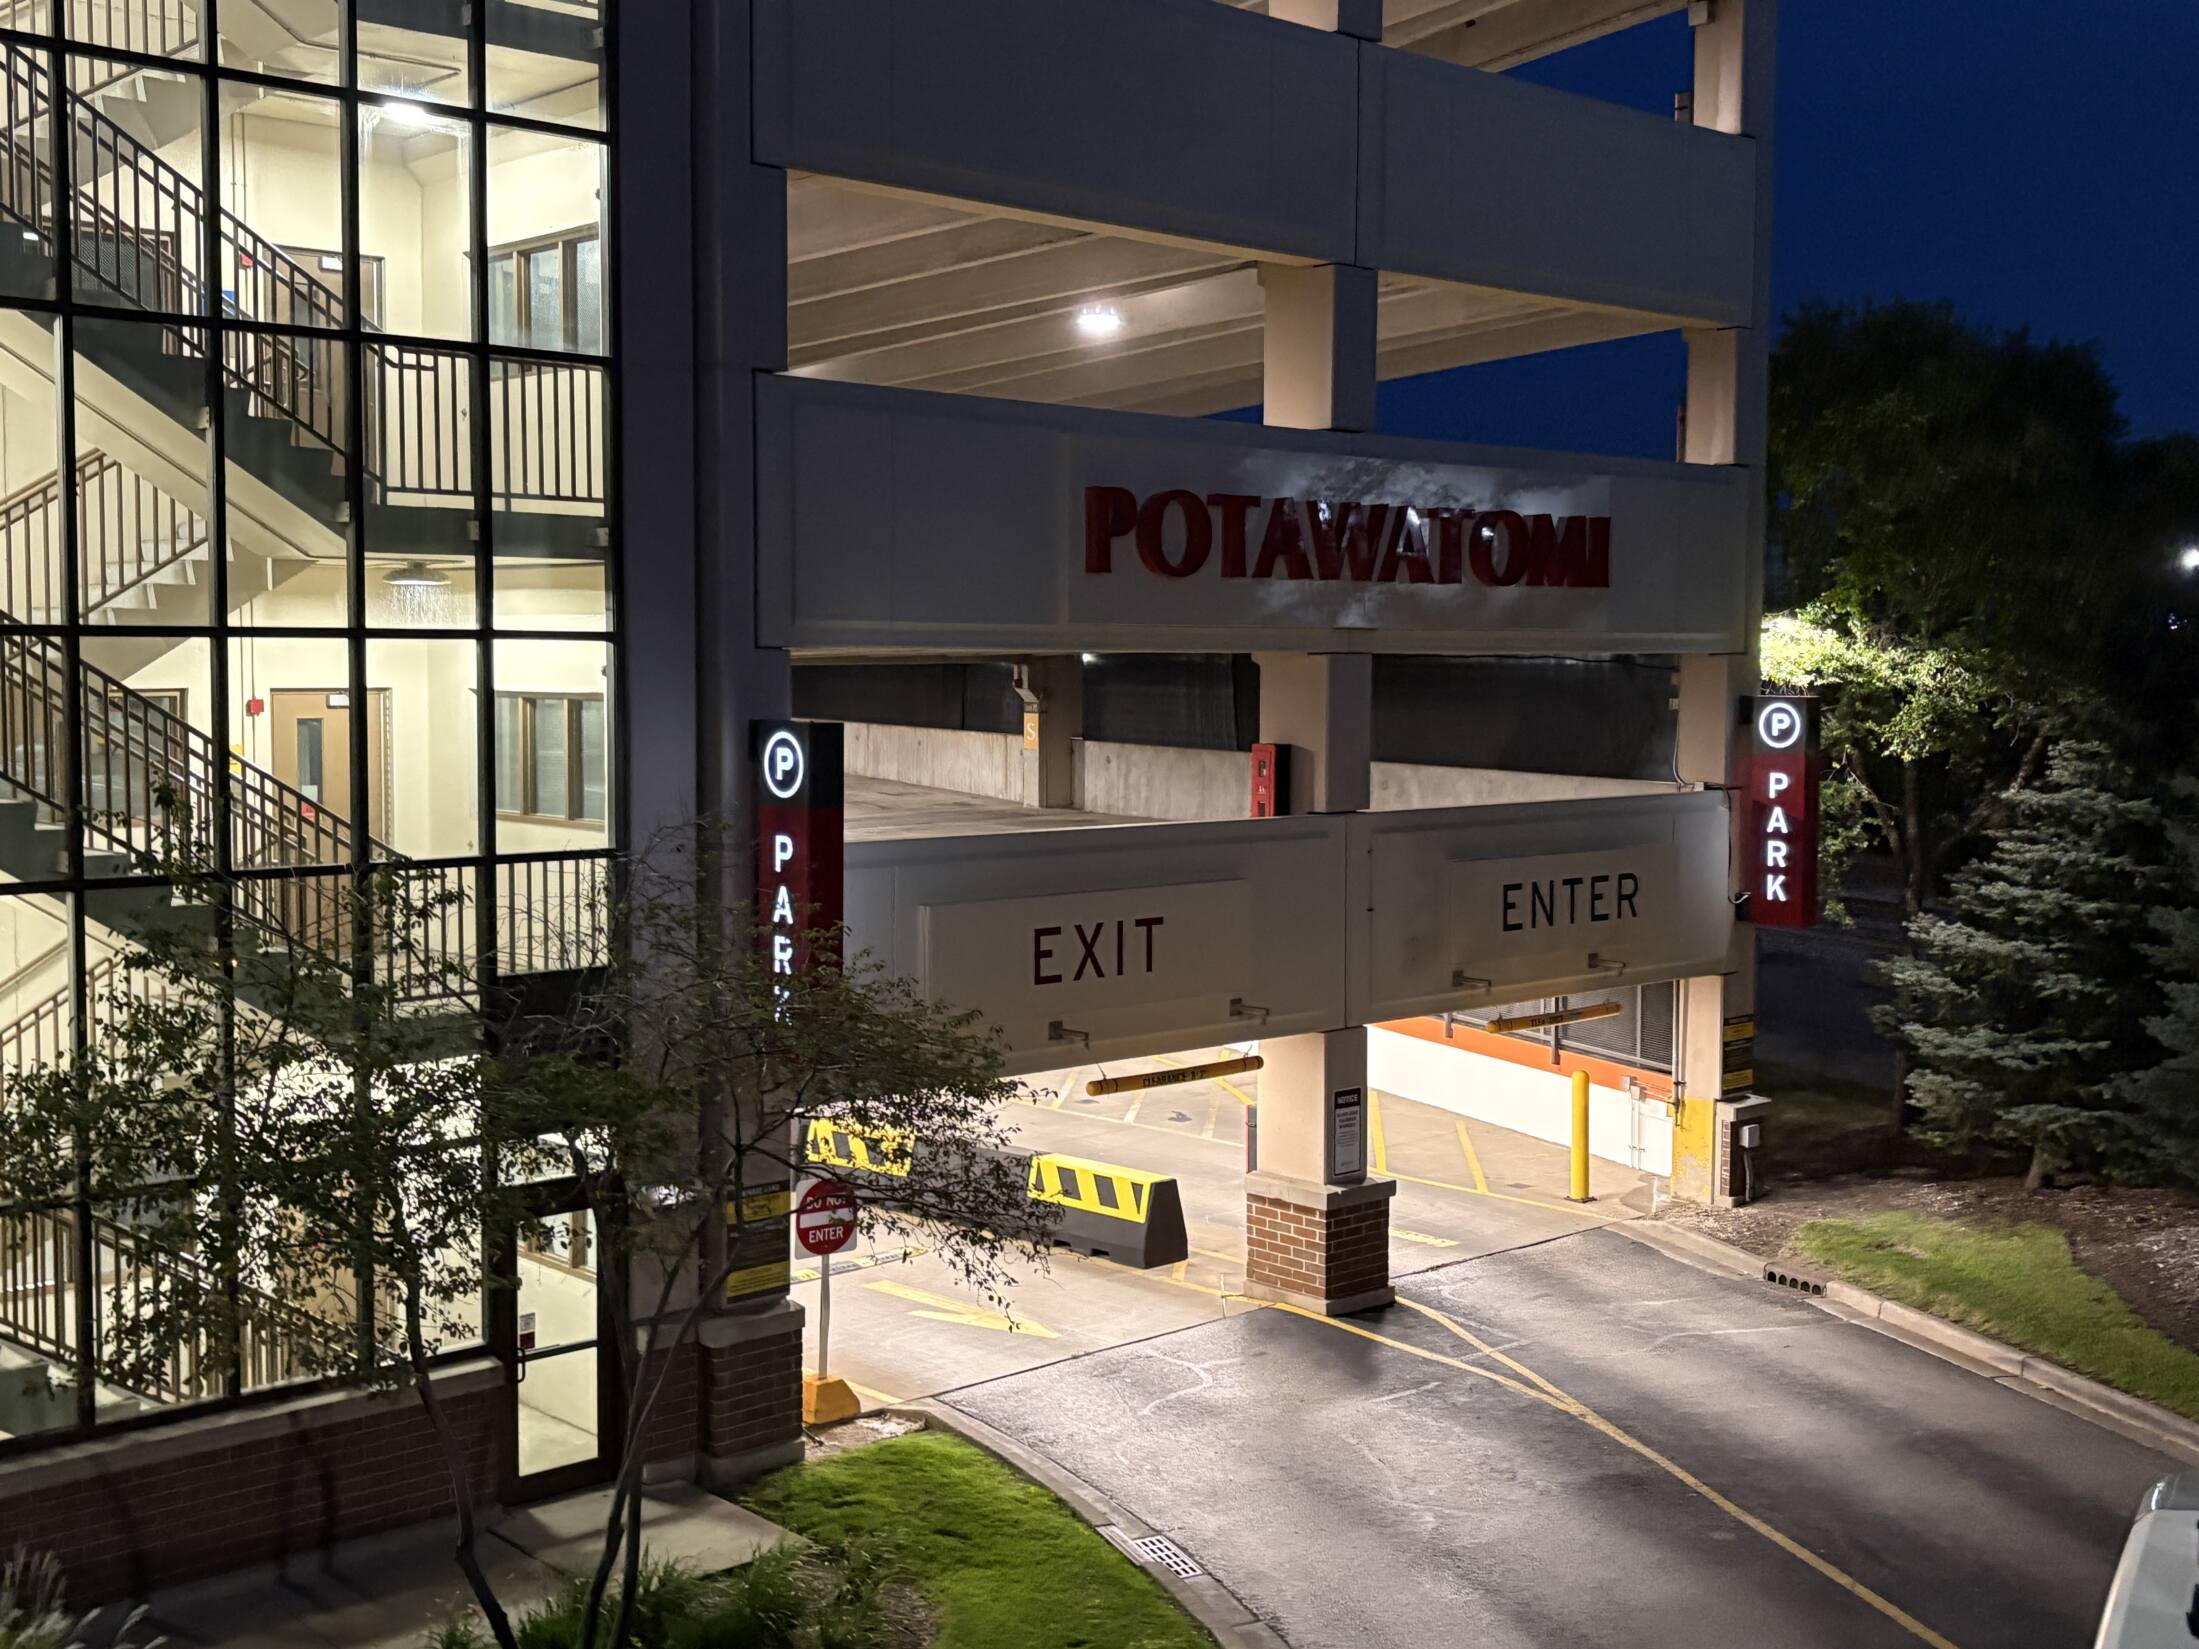
Building ID letters. The POTAWATOMI signs are face-lit channel letters with 5″ deep aluminum returns, red acrylic faces, and red LED modules. The letters mount to an aluminum raceway cabinet built in two sections. Power supplies sit in a remote box behind the wall with a 20A switch, and a licensed electrician handled the 120V primary connection.
ENTER and EXIT wall signs. Each sign measures 12′-0″ by 3′-2″ and is 5″ deep. The panels are finished in a suede paint matched closely to the garage wall, so they blend into the building by day. The copy is routed into the face and back-lit. The ENTER copy uses black perforated film that reads dark in daylight and glows white at night, and EXIT is red. Each face is hinged, with top service access to the power supplies, so maintenance doesn’t mean pulling a sign off the wall.
Flag signs. At every entry and exit, a pair of illuminated flag signs with the circled P and PARK marks the way in. The P glows white after dark, which makes the entries easy to spot from the street.
The Installation
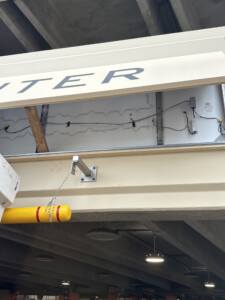 Before anything was anchored, the concrete was scanned ahead of power coring. Every anchor location was then coordinated so it cleared the structural supports inside the walls. The result is that no anchor conflicted with a structural element.
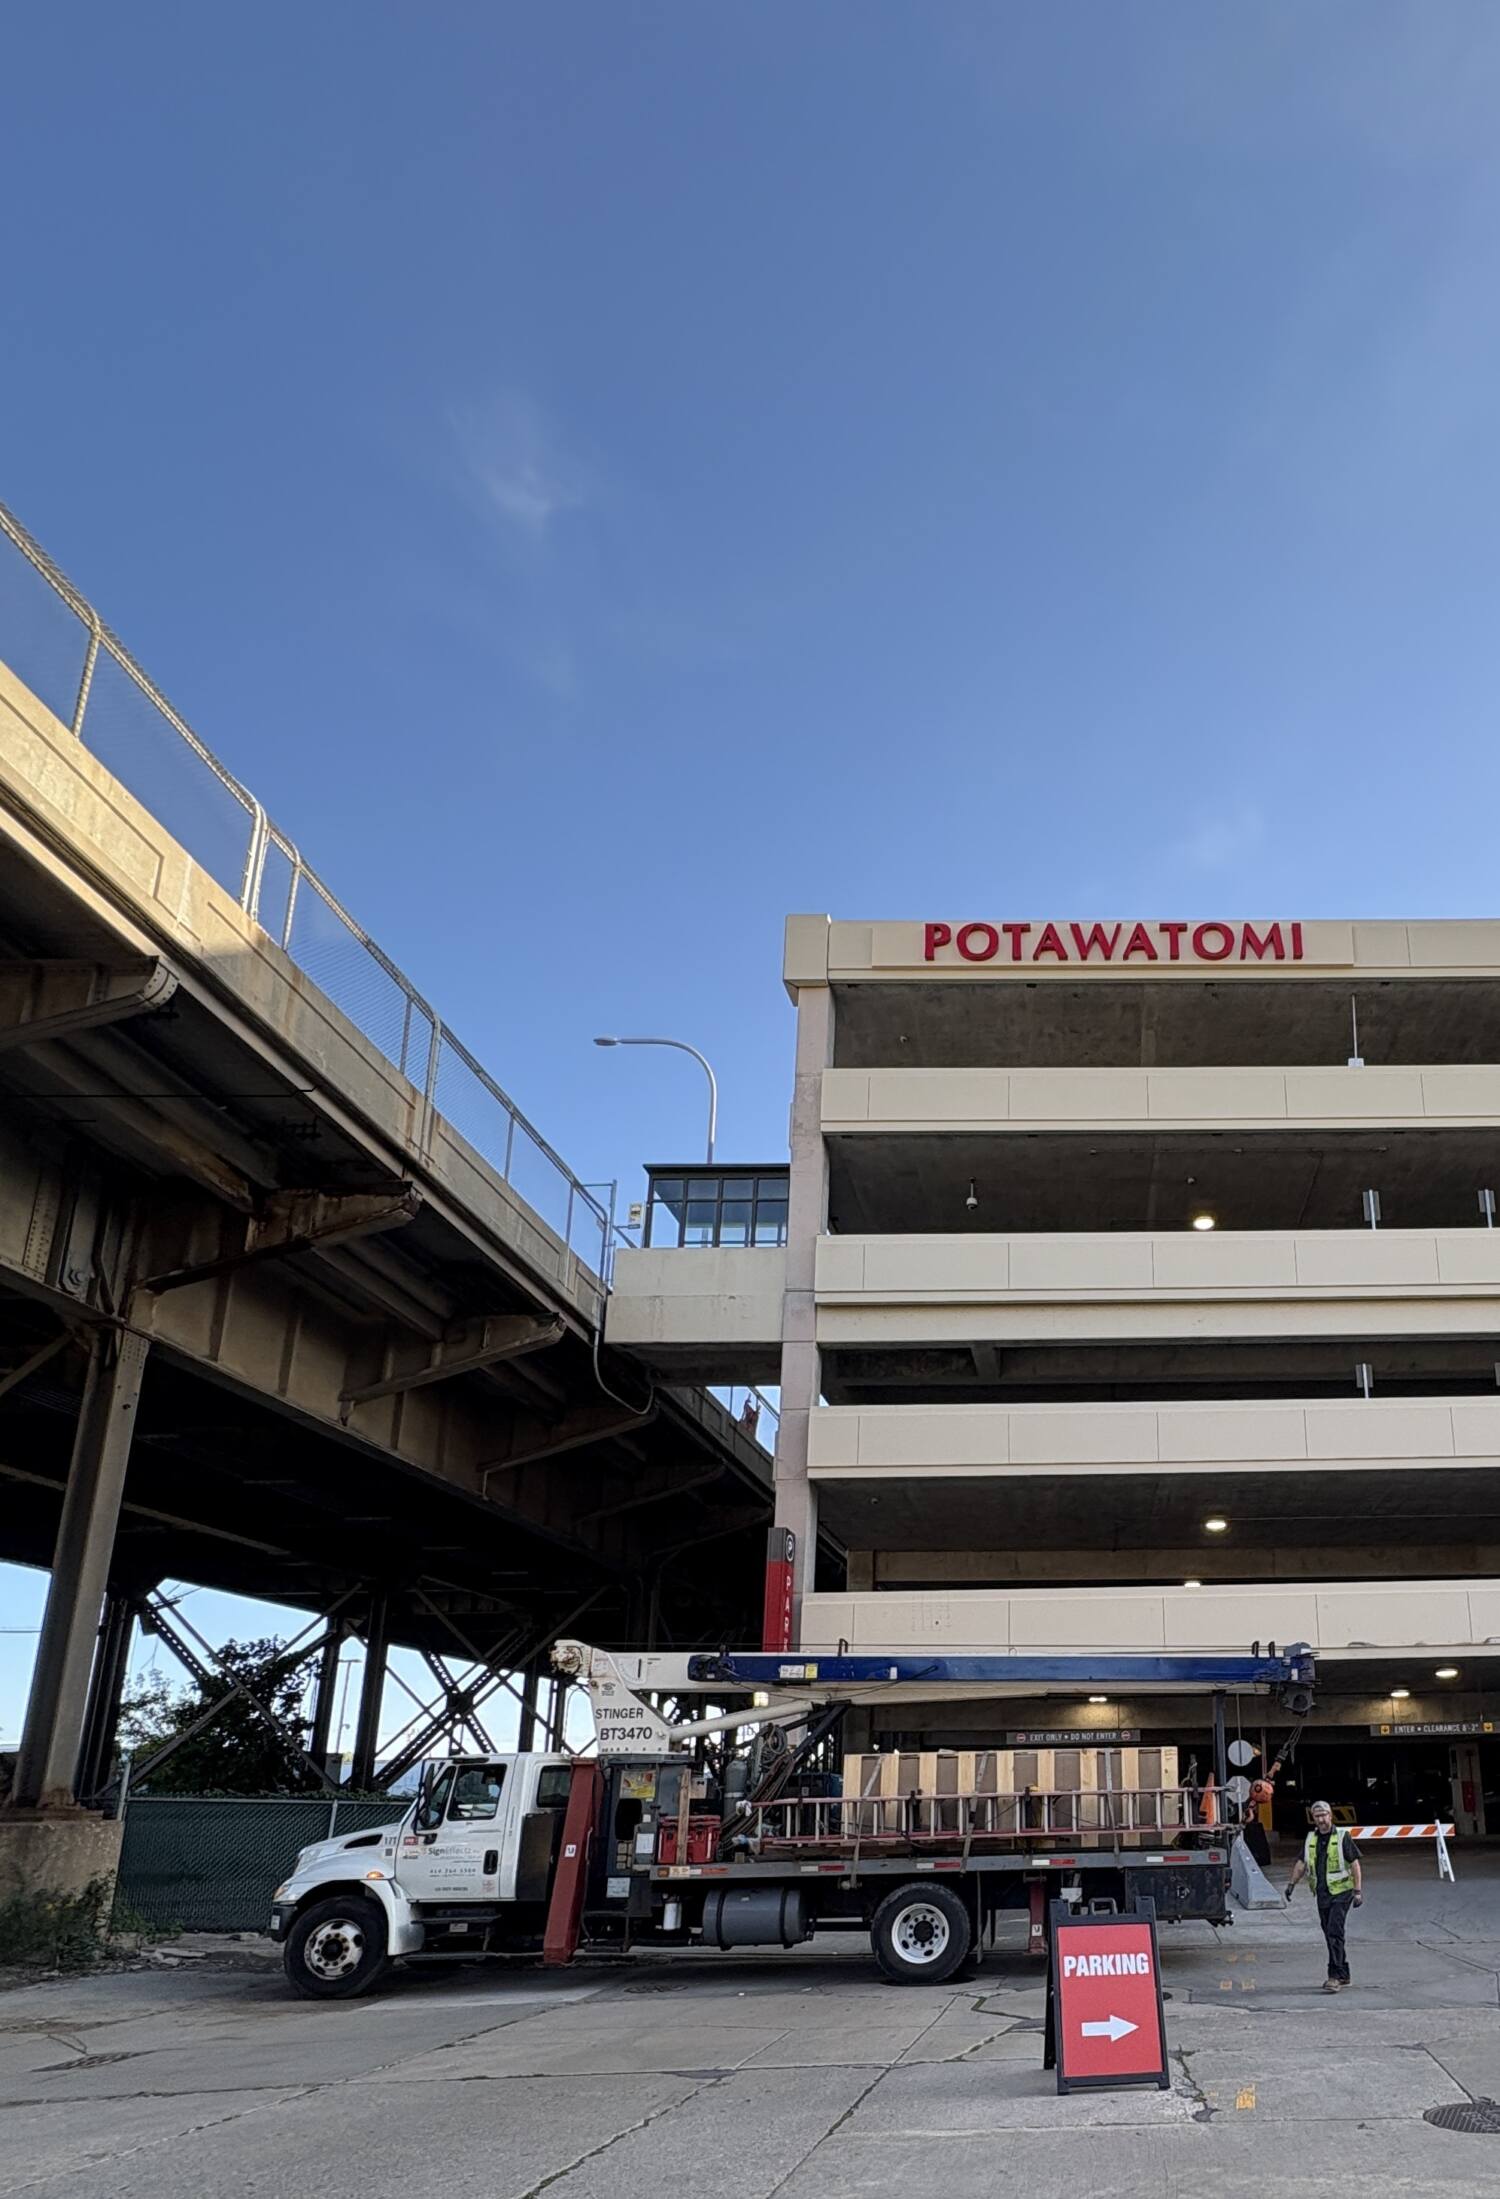
The crew staged with a boom truck and an articulating boom lift, and the garage entrance was closed with barricades and guest signage in place during the work. Existing wall lamps were removed before installation, and the drawings flagged which lamp location to use for running power from behind the wall.
The Results
- POTAWATOMI is visible on every elevation, and it reads clearly from across the street.
- Four entries and exits each have a matching set of flag signs and ENTER and EXIT wall signs, so drivers get the same wayfinding cues at everyone.
- The wall signs blend into the structure by day and light up after dark.
- Every anchor cleared the concrete’s structural supports, and top-access power supplies keep future service simple.
Takeaways for GCs and Project Managers
- Survey every elevation. Wall conditions vary more than the plans suggest, and small differences change sign sizing.
- Bring your sign partner in early on power. Coring locations and remote power supplies are easier to settle before the concrete is involved.
- Plan access and traffic first. On an active property, a good staging plan is part of the install.
 Planning signage for a garage, parking structure, or hospitality property? Contact Sign Effectz to talk through your project.